

Good content takes time and effort to come up with.
Please consider supporting us by just disabling your AD BLOCKER and reloading this page again.


In this article let us see how to install RabbitMQ with Docker and access the connection URL from NodeJS (ExpressJS)
Make sure your Docker Desktop is running. If you have not installed Docker Desktop then make sure to install Docker & Docker Compose as we will be running docker-compose.yml.
In this article we will cover the following topic s:
/rabbitmq-training/docker-compose.yml
version: "3.8"

services:
  rabbitmq:
    #RabbitMQ
    image: rabbitmq:3.11-management
    container_name: rabbitmq
    hostname: rabbitmq
    ports:
      #Port: 5672 is used by RabbitMQ Server
      - "5672:5672"
      #Port: 15672 is used by RabbitMQ Management UI
      - "15672:15672"
    environment:
      #Add default username and password to log into the RabbitMQ ManagementUI & RabbitMQ Server
      - RABBITMQ_DEFAULT_USER=stackcoder_user
      - RABBITMQ_DEFAULT_PASS=StackCoderPass
      - RABBITMQ_DEFAULT_VHOST=wifihost
    volumes:
      - ./rabbit/data:/var/lib/rabbitmq
      - ./rabbit/log:/var/log/rabbitmq
      - ./rabbit/etc:/etc/rabbitmq
    restart: always
If you observe the above code then you will be able to see the default user and password, which we will use in Producer & Consumer connection
RABBITMQ_DEFAULT_USER=stackcoder_user
RABBITMQ_DEFAULT_PASS=StackCoderPass
If you have setup everything up correctly as above then you must be able to run the following command
docker container ls

RabbitMQ Running with Docker
You might require the RabbitMQ Management Admin tool to check if everything is working as expected. Let us log in to running Docker Container and enable the RabbitMQ Management plugin.
docker container ls

docker exec -it rabbitmq /bin/bash

rabbitmq-plugins enable rabbitmq_management
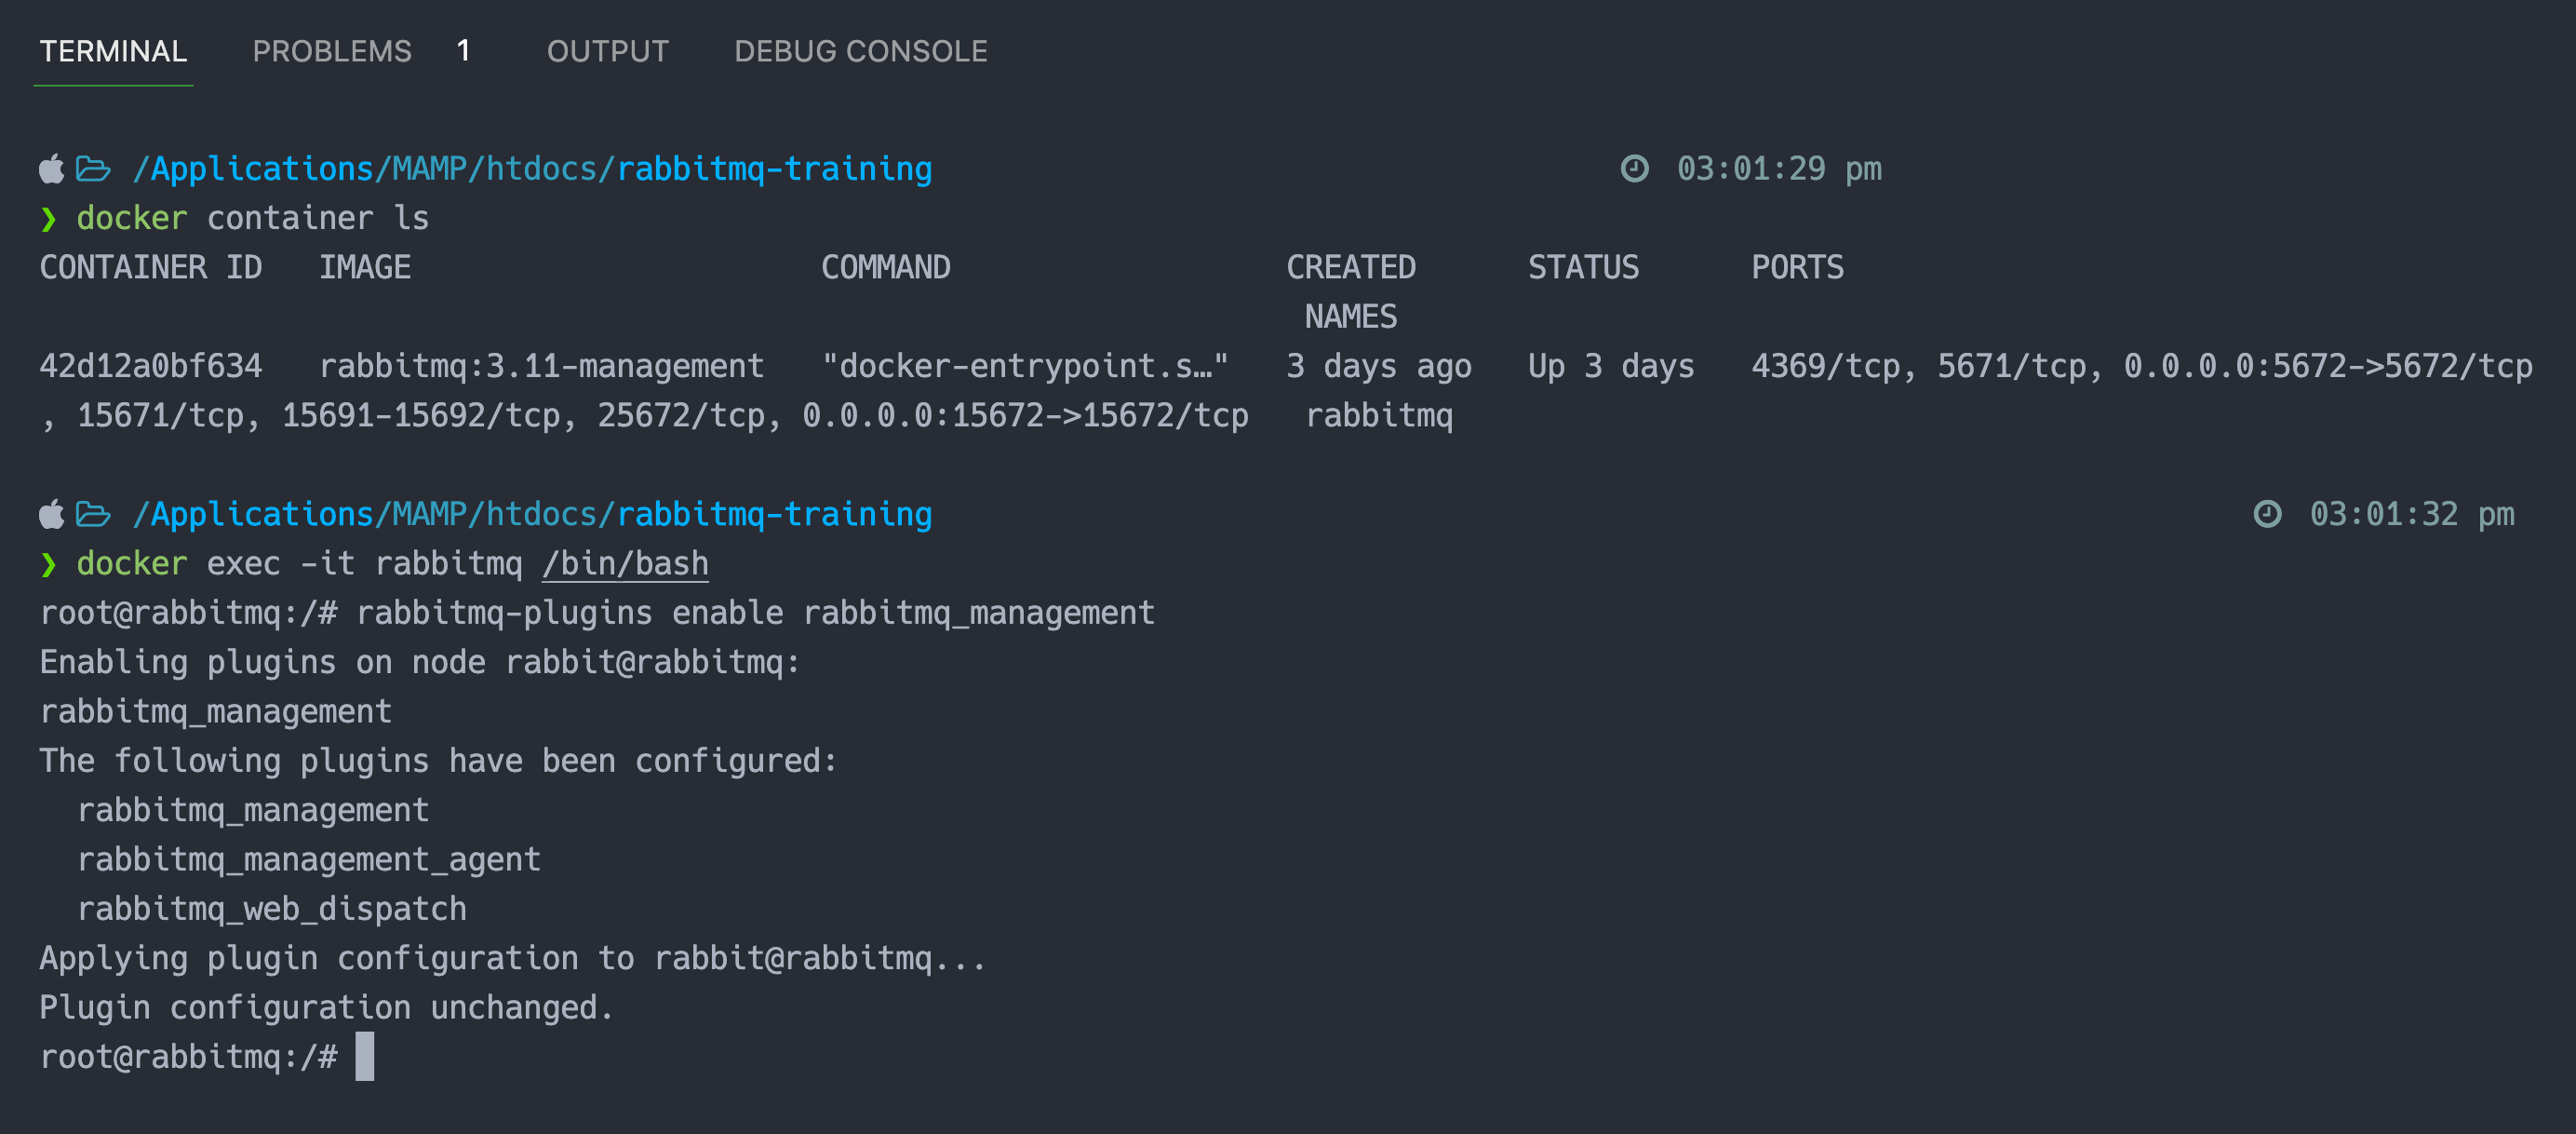
Enable RabbitMQ Management Plugin from running Docker Container
Now if you open the URL: http://localhost:15672 then you will be able to see the following RabbitMQ Management tool.
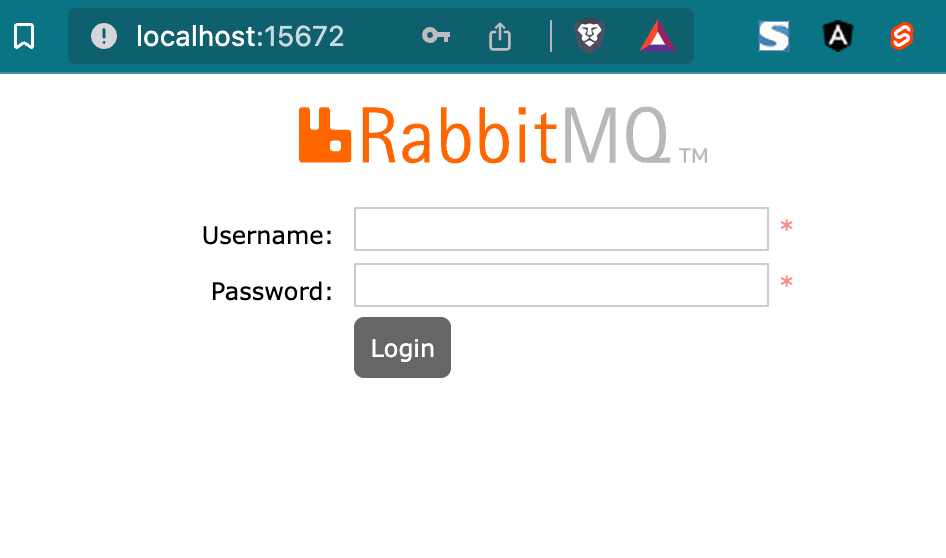
RabbitMQ Management Tool
/rabbitmq-training/producer/package.json
{
  "dependencies": {
    "amqplib": "^0.10.3",
    "express": "^4.18.2"
  },
  "name": "producer",
  "version": "1.0.0",
  "main": "index.js",
  "devDependencies": {
    "nodemon": "^2.0.20"
  },
  "scripts": {
    "start": "nodemon index.js"
  },
  "keywords": [],
  "author": "Channaveer Hakari",
  "license": "ISC",
  "description": ""
}
/rabbitmq-training/producer/index.js
const express = require("express");
const app = express();
const amqplib = require("amqplib");

let channel, conn;
const QUEUE = "test";

async function connectRabbitMQ() {
    conn = await amqplib.connect("amqp://stackcoder_user:StackCoderPass@localhost");

    channel = await conn.createChannel();
    await channel.assertQueue(QUEUE);
}

connectRabbitMQ();

app.get("/producer", async (req, res) => {
    try {
        const result = await channel.sendToQueue(
            QUEUE,
            Buffer.from(JSON.stringify({
                name: "Channaveer Hakari",
                email: "channaveer@gmail.com"
            }))
        );

        return res.send({
            status: "success",
            message: "Message sent to queue",
            data: {
                result
            }
        });
    } catch (error) {
        console.log(error);
    }
});

app.listen(6000, () => {
    console.log("Producer listening on port 6000");
});
First, install all the node dependencies by running the following command and then start the project
#Command will install all the project dependencies by reading package.json
npm install

#Start the project, you can also run with code: node index.js
npm run start
To produce the message into RabbitMQ you can invoke the project URL from Postman App as shown in the following image
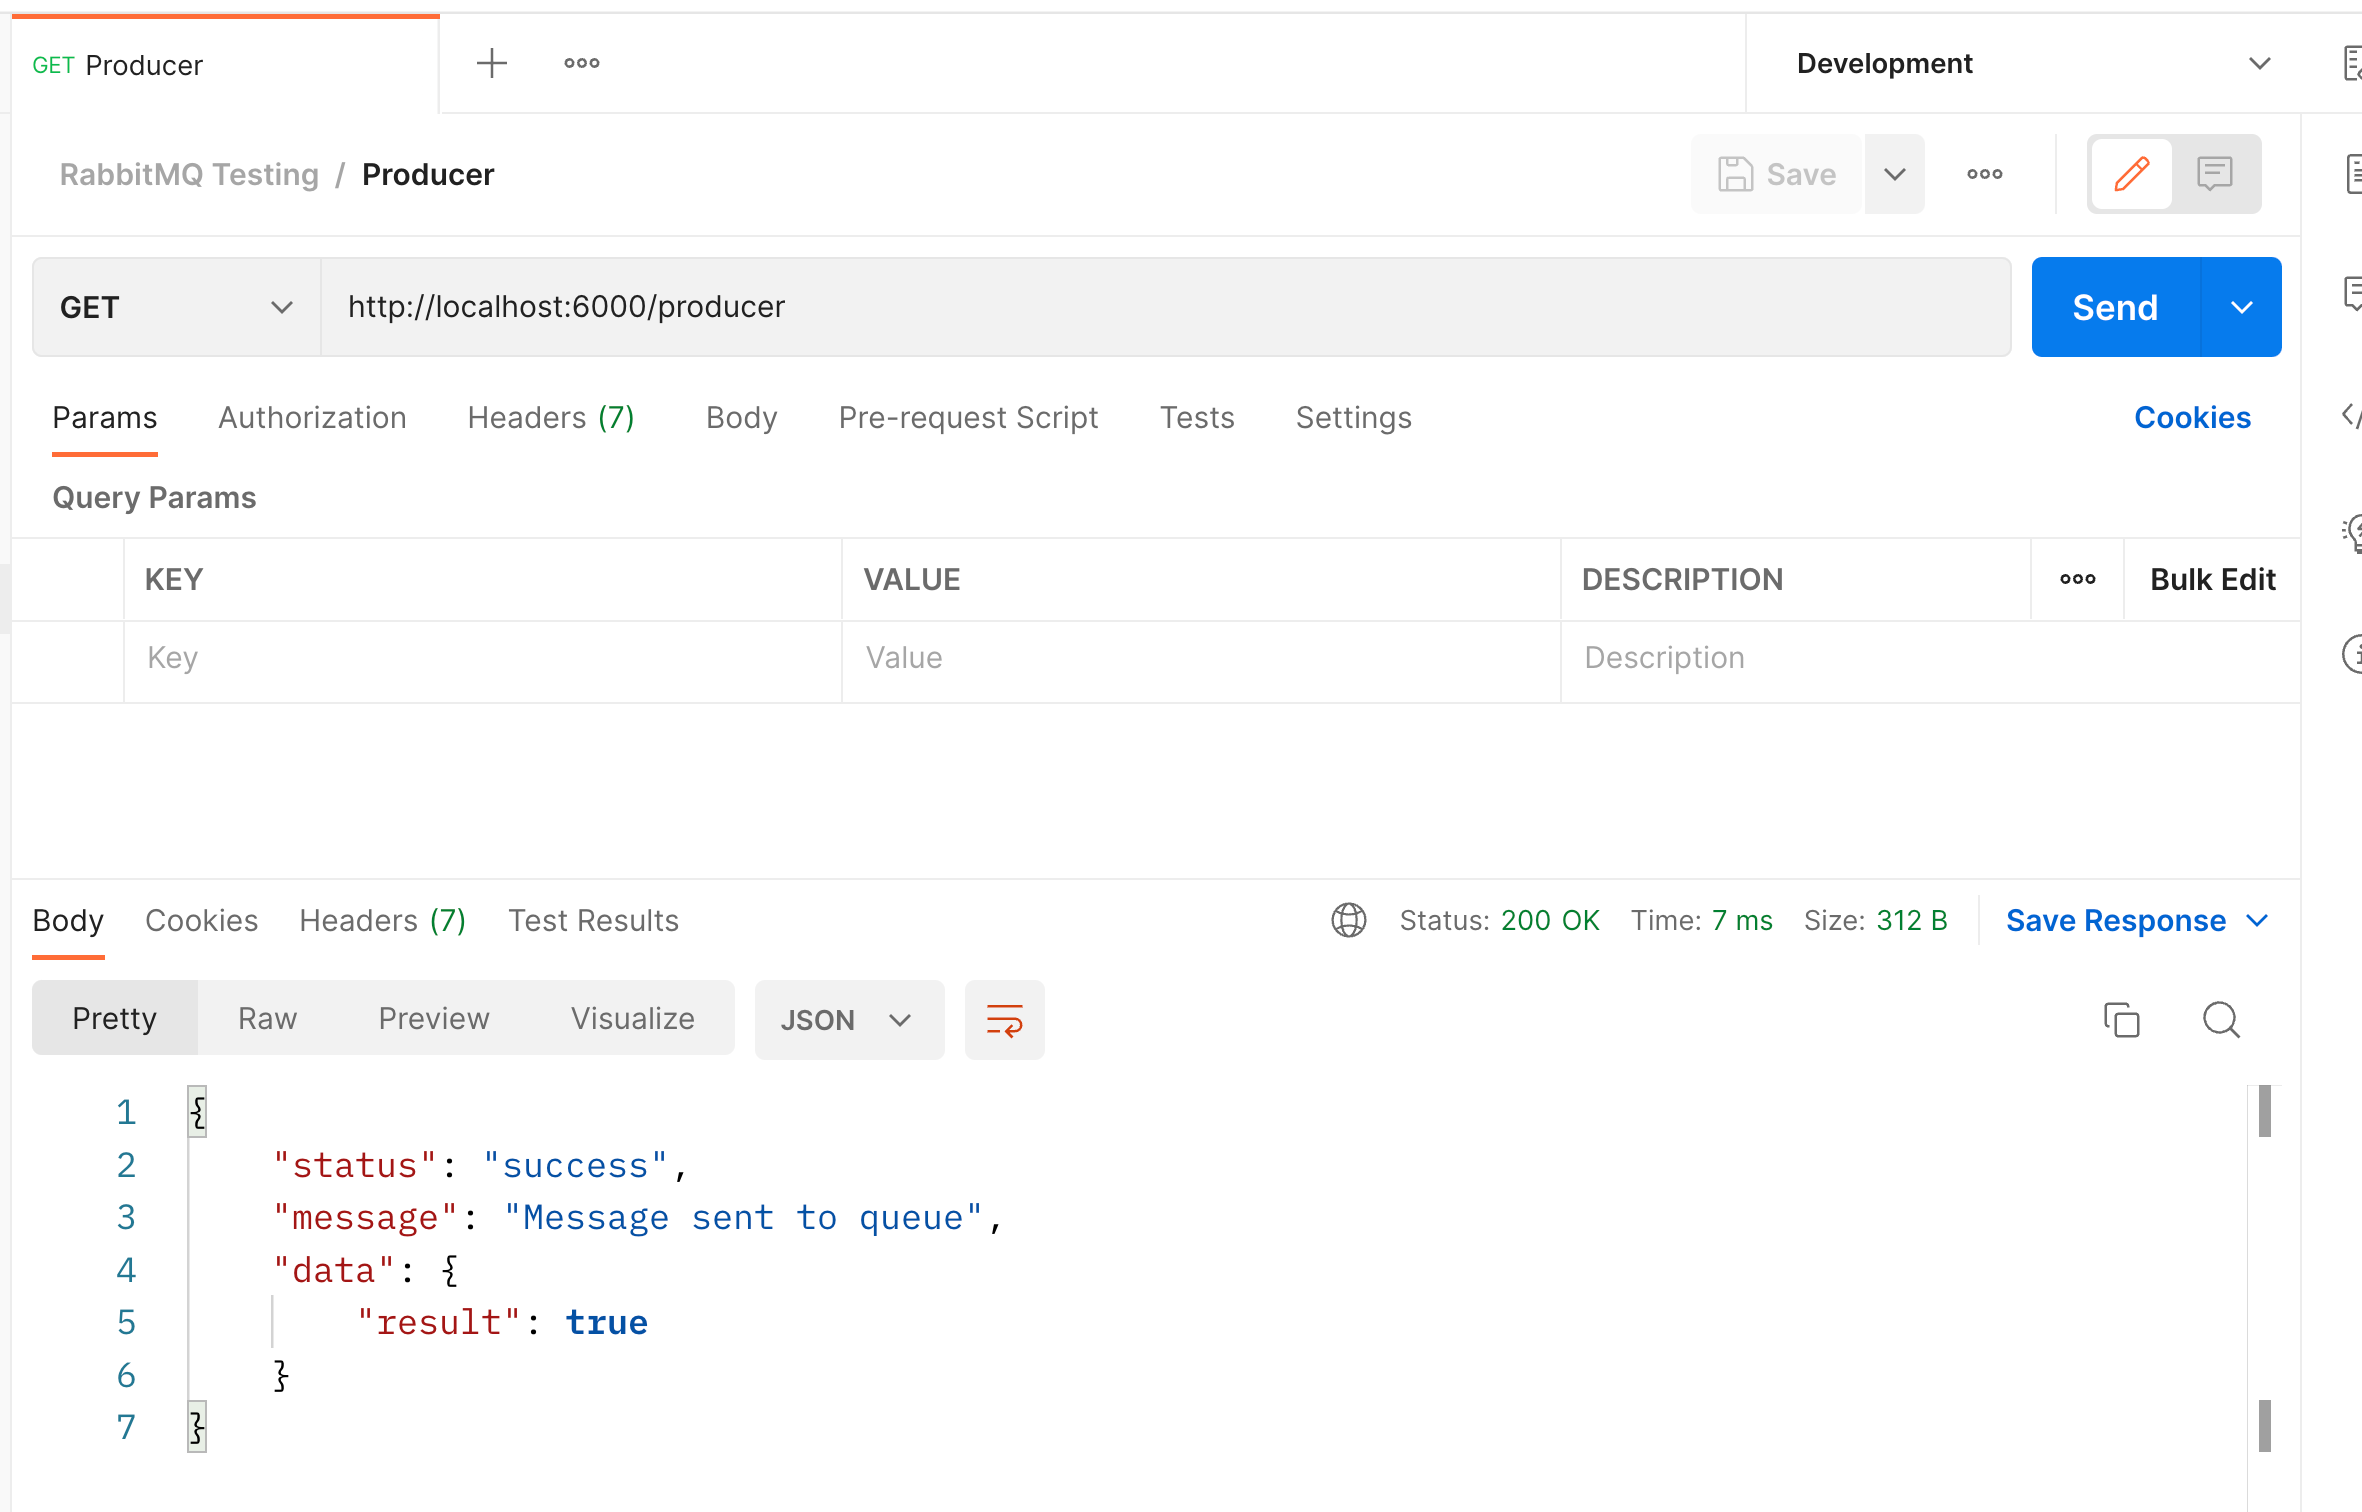
RabbitMQ Producer from Postman App
/rabbitmq-training/consumer/package.json
{
  "dependencies": {
    "amqplib": "^0.10.3",
    "express": "^4.18.2"
  },
  "name": "consumer",
  "version": "1.0.0",
  "main": "index.js",
  "devDependencies": {
    "nodemon": "^2.0.20"
  },
  "scripts": {
    "start": "nodemon index.js"
  },
  "keywords": [],
  "author": "Channaveer Hakari",
  "license": "ISC",
  "description": "Running RabbitMQ Consumer"
}
/rabbitmq-traning/consumer/index.js
const express = require("express");
const app = express();
const amqplib = require("amqplib");

(async function connectRabbitMQ() {
    const QUEUE = "test";

    const conn = await amqplib.connect("amqp://stackcoder_user:StackCoderPass@localhost");

    const channel = await conn.createChannel();
    await channel.assertQueue(QUEUE);

    try {
        await channel.consume(QUEUE, (msg) => {
            console.log("Message: ", JSON.parse(msg.content));
            channel.ack(msg);
        });


        console.log("Read message from CONSUMER \n");
    } catch (error) {
        console.log(error);
    }
}) ();

// connectRabbitMQ();

app.listen(6001, () => {
    console.log("Consumer listening on port 6001");
});
First, install all the node dependencies by running the following command and then start the project
#Command will install all the project dependencies by reading package.json
npm install

#Start the project, you can also run with code: node index.js
npm run start
Now your producer and consumer are running, let's run the producer code from Postman and see the Consumer result from the console output.

Producer Endpoint from Postman App
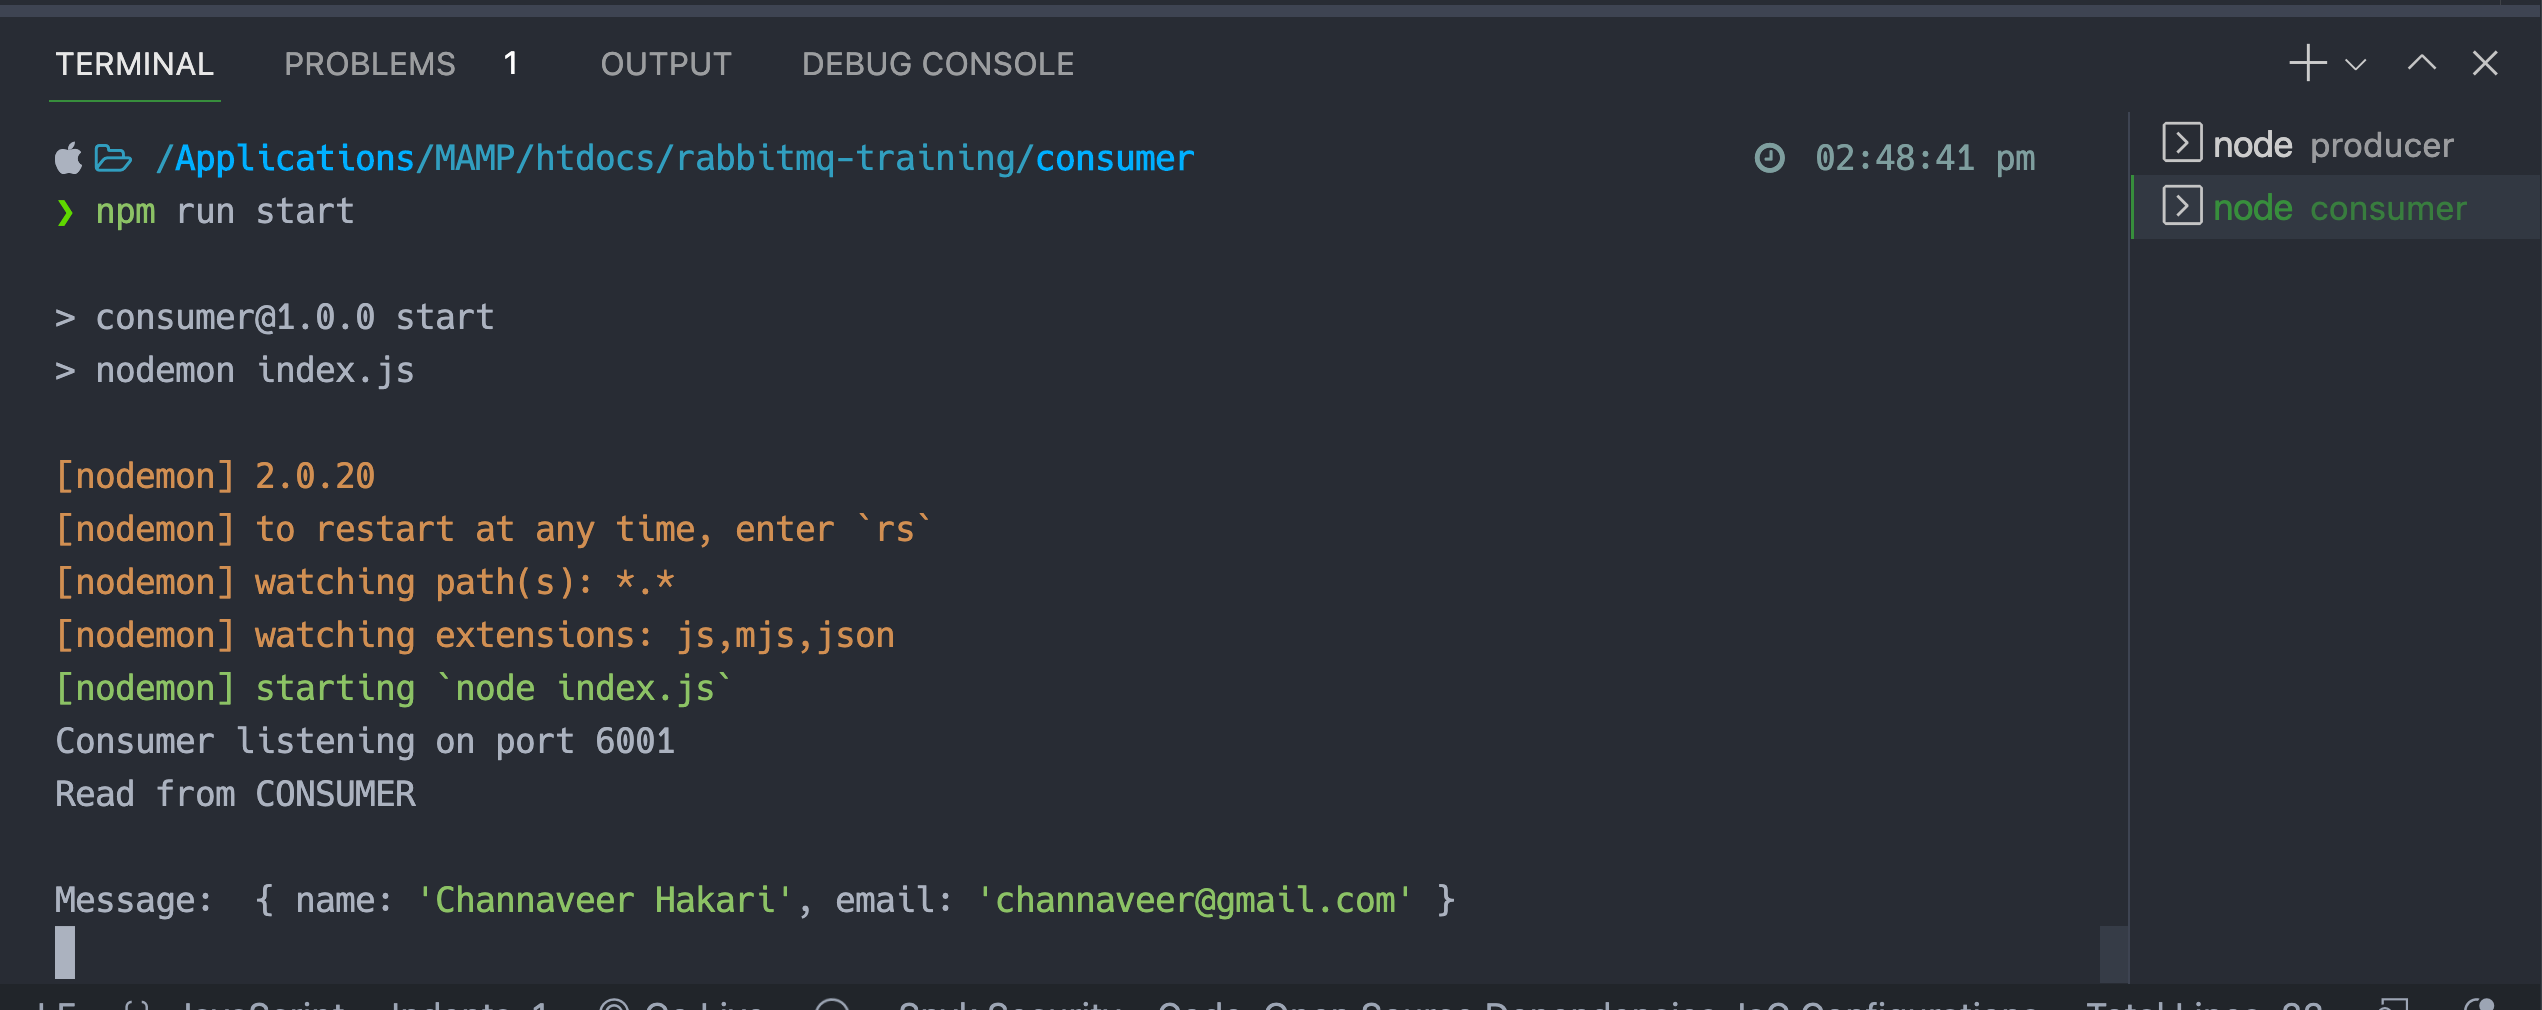
RabbitMQ Consumer
Securely Connect Server MYSQL DB From Sequel Pro / MYSQL Workbench
Send Email In PHP With PHPMailer
SummerNote WYSIWYG Text Editor
@stack @push and @prepend In Laravel Blade
Client-Side DataTable, Adding Super Powers To HTML Table
What Is HTTP? Different HTTP Methods And Status Codes Explained With Examples
Lazy Load YouTube And Other Videos In Website
Relationship Table Data With Route Model Binding In Laravel
What Is Method Chaining In PHP?
Setup Docker for NodeJs, MongoDB, MongoDB Compass
Install Letsencrypt SSL Certificate for RabbitMQ Server and RabbitMQ Management Tool


