

Good content takes time and effort to come up with.
Please consider supporting us by just disabling your AD BLOCKER and reloading this page again.
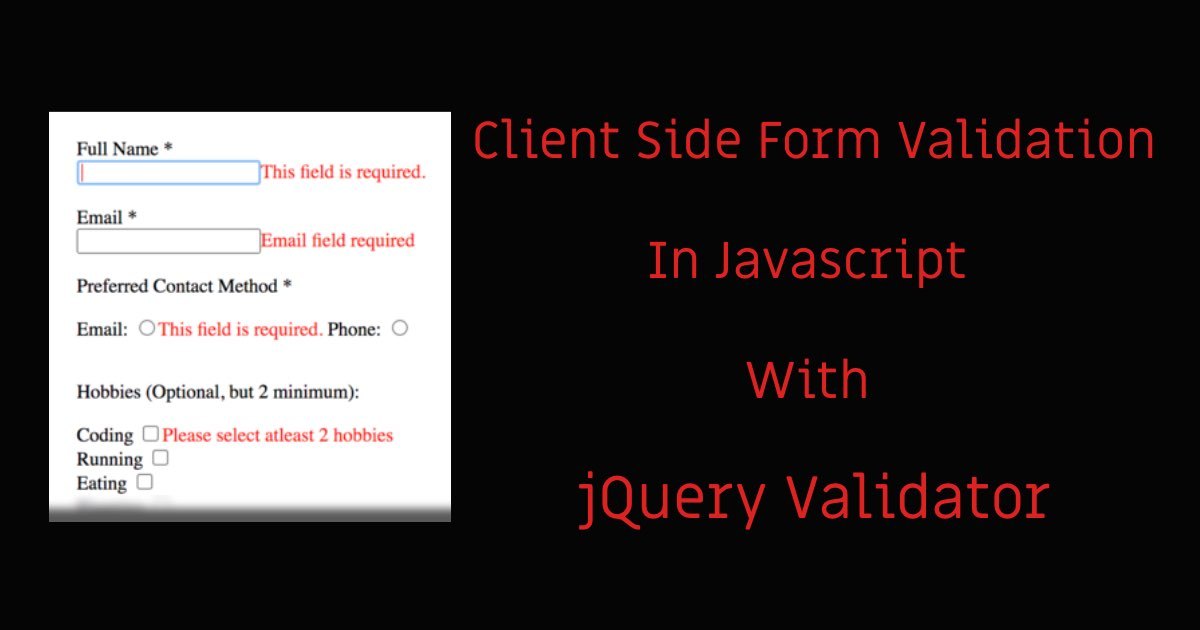


In this article, you will learn how to do client-side form validation and why it's very crucial for your web development with jQuery Validation Javascript library.
Code available in GitHub @ Client-Side Form Validation
We will cover the following
Client-side validation is very important because
We will be using jQuery Validator Javascript library for client-side validation. You can either download the library by going to the URL and add it in your project or you can use CDN for faster loading.
Note: Once you to to the above URL and scroll down then you will get CDN link.
We will be using the following folder structure just for the sake of demonstration.
js/
  |_ jquery-validator.js
  |_ jquery.js

index.html
js (Folder) - Keep our JS library files
js/jquery-validator.js - jQuery validation library
js/jquery.js - jQuery library
index.html - Validation demo
First, let's create a form so that we can add some validation to it. The following is the basic HTML form.
<!DOCTYPE html>
<html lang="en">
    <head>
        <title>Client Side Validation</title>
        <style>
            body{ padding-top: 50px; padding-left: 100px; }
            .error { color: red; }
        </style>
    </head>
    <body>
        <form id="demo-form">
            <div>
                <label for="fullname">Full Name *</label> <br>
                <input type="text" class="form-control" name="fullname" required>
            </div>
            <br>
            <div>
                <label for="email">Email *</label> <br>
                <input type="email" class="form-control" name="email" required>
            </div>
            <br>
            <div>
                <label for="contactMethod">Preferred Contact Method *</label> <br>
                <p>
                    Email: <input type="radio" name="contactMethod" id="contactMethodEmail" value="Email" required="">
                    Phone: <input type="radio" name="contactMethod" id="contactMethodPhone" value="Phone">
                </p>
            </div>
            <br>
            <div>
                <label for="hobbies">Hobbies (Optional, but 2 minimum):</label> <br>
                <p>
                    Skiing <input type="checkbox" name="hobbies[]" id="hobby1" value="ski"><br>
                    Running <input type="checkbox" name="hobbies[]" id="hobby2" value="run"><br>
                    Eating <input type="checkbox" name="hobbies[]" id="hobby3" value="eat"><br>
                    Sleeping <input type="checkbox" name="hobbies[]" id="hobby4" value="sleep"><br>
                    Reading <input type="checkbox" name="hobbies[]" id="hobby5" value="read"><br>
                    Coding <input type="checkbox" name="hobbies[]" id="hobby6" value="code"><br>
                </p>
            </div>
            <br>
            <div>
                <p>
                <label for="heard">Heard about us via *</label> <br>
                <select id="heard" required="">
                    <option value="">Choose..</option>
                    <option value="press">Press</option>
                    <option value="net">Internet</option>
                    <option value="mouth">Word of mouth</option>
                    <option value="other">Other..</option>
                </select>
                </p>
            </div>
            <br>
            <div>
                <p>
                <label for="message">Message (20 chars min, 100 max) :</label> <br>
                <textarea id="message" class="form-control" name="message"></textarea>
                </p>
            </div>
            <br>
            <div>
                <input type="submit" class="btn btn-default" value="validate">
            </div>
        </form>
    </body>
</html>
Observe <form id="demo-form">
Form id with demo-form will be latter used to perform the validation.
Basically the above form looks like the following
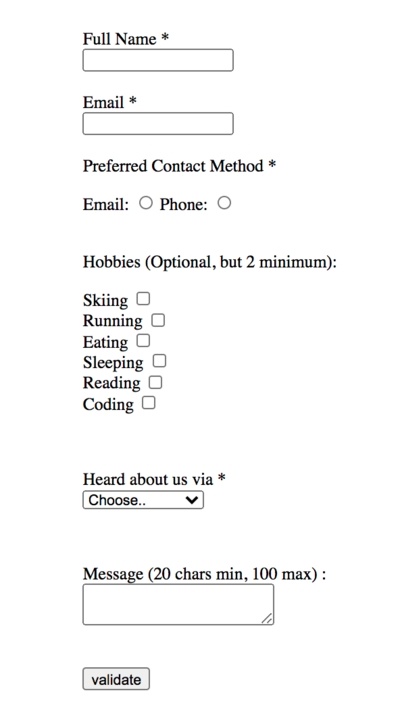
Basic Form Overview
<!-- jQuery Library -->
<script src="./js/jquery.js"></script>

<!-- jQuery Validation Library -->
<script src="./js/jquery-validator.js"></script>

<!-- Basic jQuery Validation -->
<script type="text/javascript">
    /** We are using basic id selector which is assigned to form
    * validate() will validate your form
    */
    $('#demo-form').validate();
</script>
In the above validate() code it will validate your form based on the form elements attributes ie input, select, textarea which will have required, min, max, minlength, maxlength.
Off course you can change the rules and add multiple rules and messages as per your requirement. I will cover in the next section
You can simply extend the validation with more rules and custom messages in simple way as follows
$('#demo-form').validate({
    /** Rules for your form fields */
    rules : {
        /** Field name is the name of your input, select, textarea */
        field_name : {
            /** rule_name -> required, value -> true */
            rule_name : value
        }
    },
    /** Adding custom messages to your validation rules */
    messages : {
        /** Field name that you have added in the rules */
        field_name : {
            /** rule_name and its respective message when it gets triggered */
            rule_name : "message"
        }
    }
});
The validation for your form will look like the following
<!-- jQuery Library -->
<script src="./js/jquery.js"></script>

<!-- jQuery Validation Library -->
<script src="./js/jquery-validator.js"></script>

<!-- Basic jQuery Validation -->
<script type="text/javascript">
    /** We are using basic id selector which is assigned to form
    * validate() will validate your form
    */
    $('#demo-form').validate({
        /** Rules for your form fields */
        rules : {
            /** Field name is the name of your input, select, textarea */
            /** rule_name -> required, value -> true */
            fullname : {
                required : true,
                minlength: 3
            },
            email : {
                required: true,
                email: true
            },
            contactMethod : {
                required: true
            },
            "hobbies[]" : {
                required: true,
                minlength: 2
            }
        },
        /** Adding custom messages to your validation rules */
        messages : {
            /** Field name that you have added in the rules */
            /** rule_name and its respective message when it gets triggered */
            email : {
                required : "Email field required"
            },
            "hobbies[]" : {
                required : "Please select atleast 2 hobbies",
                minlength: "Please select {0} hobbies"
            }
        }
    });
</script>
Other than then normal form validation you may also use the form handlers to make what should your submit action must perform after successful validation.
You might want to disable the submit button, show some submitting message, and then submit form details via AJAX request or directly.
This can be achieved with the help of submitHandler option as shown below
$("#demo-form").validate({
    rules : {
        /** Your form rules */
    },
    messages : {
        /** Rules custom messages */
    },
    /** Submit Handler ie what should happen after form is
    * successfully validated
    */
    submitHandler: function(form) {
        // some other code
        // maybe disabling submit button
        // then submit the form
        $(form).submit();
    }
});
List of the validation rules that are available are as follows
required – Makes the element required.remote – Requests a resource to check the element for validity.minlength – Makes the element require a given minimum length.maxlength – Makes the element require a given maximum length.rangelength – Makes the element require a given value range.min – Makes the element require a given minimum.max – Makes the element require a given maximum.range – Makes the element require a given value range.step – Makes the element require a given step.email – Makes the element require a valid emailurl – Makes the element require a valid urldate – Makes the element require a date.dateISO – Makes the element require an ISO date.number – Makes the element require a decimal number.digits – Makes the element require digits only.equalTo – Requires the element to be the same as another oneTo know more on other validation details checkout jQuery Validation website.
Hope you enjoyed the article. Please share with your friends.
Code available in GitHub @ Client-Side Form Validation
Send SMS With Amazon SNS (Simple Notification Service) Using PHP
Cache Static Files With NGINX Server
SQLite Doesn't Support Dropping Foreign Keys in Laravel
Global Data In All Laravel Blade Pages
Client-Side DataTable, Adding Super Powers To HTML Table
Getting Started With AMP (Accelerated Mobile Pages)
composer.json v/s composer.lock
What Is Laravel Resourceful Controllers?
Make Laravel Controllers Slim By Skimming Form Validation Request


