

Good content takes time and effort to come up with.
Please consider supporting us by just disabling your AD BLOCKER and reloading this page again.


Hello! In this tutorial, you will learn how to install Apache, Manage it & Create Virtual Hosts in Ubuntu 20.04. Apache web server is the most widely used web server in the market.
Before moving ahead with this article I request you guys to setup up Ubuntu 20.04 server in Digital Ocean, Linode or any other cloud platform. If you don't have an account then click on the link and get the free credits to play around :)
You might be interested in securing your server after initial installation How To Do Basic Server Security Setup For Ubuntu / Linux.
First & foremost thing after logging into your server is to update the Ubuntu server packages so that the latest packages are available.
sudo apt update
Now install apache2 Web Server
sudo apt install -y apache2
Now after you have installed your apache2 web server by default it will be running as system process.
To check the status of the apache2 server use the following service command
sudo service apache2 status
or using systemctl command
sudo systemctl status apache2
You will similar to the following output
apache2.service - LSB: Apache2 web server
  Loaded: loaded (/etc/init.d/apache2; bad; vendor preset: enabled)
 Drop-In: /lib/systemd/system/apache2.service.d
      └─apache2-systemd.conf
  Active: active (running) since Fri 2020-01-31 17:40:55 IST; 3 months 0 days ago
   Docs: man:systemd-sysv-generator(8)
 Process: 9350 ExecReload=/etc/init.d/apache2 reload (code=exited, status=0/SUCCESS)
  Tasks: 20
  Memory: 12.5G
   CPU: 1month 2w 4d 9h 30min 45.734s
  CGroup: /system.slice/apache2.service
      ├─22008 /usr/sbin/apache2 -k start
      ├─22245 /usr/sbin/apache2 -k start
Now to check if your server is running on it. Go to browser and type the server ip_address.
Use the following command in your logged in server to know the server ip_address.
hostname -I
It will return multiple ip_address with white space, try one by one. Most of the time first one will work.
Now with the above ip_address type as follows
http://server_ip_address
You must be able to see the following in your web page
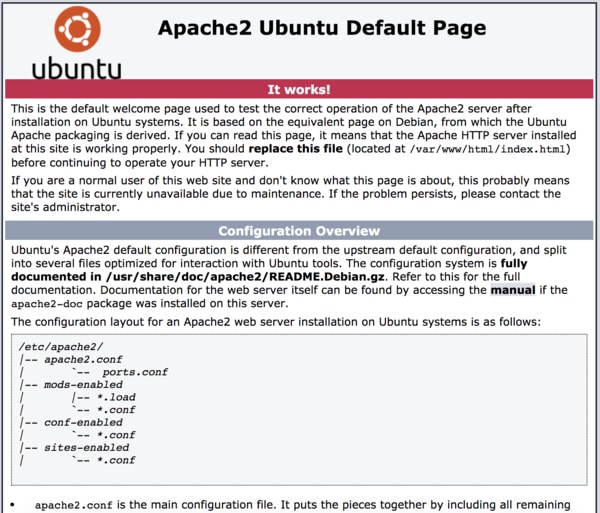
Apache2 Server Installed After Successful Installation
Once you have installed you have to manage it in future. There are 2 ways by which you can manage it with service or systemctl commands.
sudo service apache2 start
OR
sudo systemctl start apache2
sudo service apache2 stop
OR
sudo systemctl stop apache2
sudo service apache2 restart
OR
sudo systemctl restart apache2
sudo systemctl disable apache2
sudo systemctl enable apache2
We use virtual hosts so that we can manage more than 1 website in single server. By default all domains will be pointing to /var/www/html folder.
For the sake of security & managing multiple website you need to point it to /var/www/ folder, which can have projects like /var/www/project_name
We will create first_domain & second_domain to mange it at /var/www folder.
NOTE: Replacefirst_domain&second_domainwith your domains
mkdir -p /var/www/first_domain/
mkdir -p /var/www/second_domain/
Now assign the main user ownership to first_domain & second_domain with $USER environment variable
sudo chown -R $USER:$USER /var/www/first_domain
sudo chown -R $USER:$USER /var/www/second_domain
Make sure to give the proper file permissions for the project to work properly. Use the following command to allow root user read, write and execute permission and other to read & write permissions
chown -R 755 /var/www/first_domain
chown -R 755 /var/www/second_domain
Create index.html files for the sake of testing
sudo nano /var/www/first_domain/index.html
Add the following HTML content it index.html file
<!DOCTYPE html>
<html lang="en">
<head>
    <title>First Domain</title>
</head>
<body>
    <h1>First Domain Project!</h1>
</body>
</html>
sudo nano /var/www/second_domain/index.html
Add the following HTML content it index.html file
<!DOCTYPE html>
<html lang="en">
<head>
    <title>Second Domain</title>
</head>
<body>
    <h1>Second Domain Project!</h1>
</body>
</html>
Now its time to tell which domain needs to access which project folder files.
Sites Available ( /etc/apache2/sites-available ) - Here we will place all our sites Apache configuration fileSite Enabled (/etc/apache2/sites-enabled) - Here all the enabled apache website configuration resides. This is usually points tosites-available.
By default you will have /etc/apache2/sites-available/000-default.conf configuration which will be pointing to /var/www/html/index.html folder file.
sudo nano /etc/apache2/sites-available/first_domain.conf
And paste the following virtual host config data. The following code will tell that its listening on port 80 pointing to your first_domain which has an alias of ww.first_domain (this is non mandatory). We are storing the error & access logs in the default error & access logs path of apache.
<VirtualHost *:80>
  ServerAdmin webmaster@localhost
  ServerName first_domain
  ServerAlias www.first_domain
  DocumentRoot /var/www/first_domain/
  ErrorLog ${APACHE_LOG_DIR}/error.log
  CustomLog ${APACHE_LOG_DIR}/access.log combined
</VirtualHost>
sudo nano /etc/apache2/sites-available/second_domain.conf
And paste the following virtual host config data. The following code will tell that its listening on port 80 pointing to your second_domain which has an alias of ww.second_domain (this is non mandatory). We are storing the error & access logs in the default error & access logs path of apache.
<VirtualHost *:80>
  ServerAdmin webmaster@localhost
  ServerName second_domain
  ServerAlias www.second_domain
  DocumentRoot /var/www/second_domain/
  ErrorLog ${APACHE_LOG_DIR}/error.log
  CustomLog ${APACHE_LOG_DIR}/access.log combined
</VirtualHost>
NOTE: Apache logs exists in /var/log/apache2/ folderNow you have added the configuration files for your server. To tell Apache server to load the changes of new configurations file and disable the default configuration file use the following
sudo a2ensite first_domain.conf
sudo a2ensite second_domain.conf
sudo a2dissite 000-default.conf
To check if the configurations that we have add are all correct use the following command
sudo apache2ctl configtest
You should see the output similar to that of the following
Syntax Ok
To make configurations take an effect and let apache server load those you need to restart the server with the command
sudo service apache2 restart
OR
sudo systemctl restart apache2
Load http://first_domain in your browser & http://second_domain in your browser to see successful pages.

Second Domain Project

First Domain Project
Sometimes you may get 404 page after doing all these. You can do the simple change in /etc/apache2/apache2.conf
Look for /var/www and change the code to below code
<Directory /var/www/>
	Options Indexes FollowSymLinks
	AllowOverride All
	Require all granted
</Directory>
In this article you learnt how to setup Apache server, mange it & creating virtual hosts.
Factories To Speed Up Test-Driven Development In Laravel
Lazy Load YouTube And Other Videos In Website
Redirect www to a non-www Website Or Vice Versa
Install Letsencrypt SSL Certificate for RabbitMQ Server and RabbitMQ Management Tool
Client-Side DataTable, Adding Super Powers To HTML Table
Install RabbitMQ with Docker & Running with NodeJS
Simple Way To Create Resourceful API Controller In Laravel
Client-Side Form Validation With Javascript
Detect AdBlocker With Javascript And Increase Website Ads Revenue
Increase Session Timeout In Laravel
SummerNote WYSIWYG Text Editor
Setup AMP (Accelerated Mobile Pages) In PHP Laravel
NGINX Security Best Practices & Optimization
Install Packages Parallel For Faster Development In Composer


